Multi-Tenants Start Guide
How to Log In
- Go to Google on either Chrome or Safari
- Key in "https://www.ecomonitorpro.com/" in the top search bar
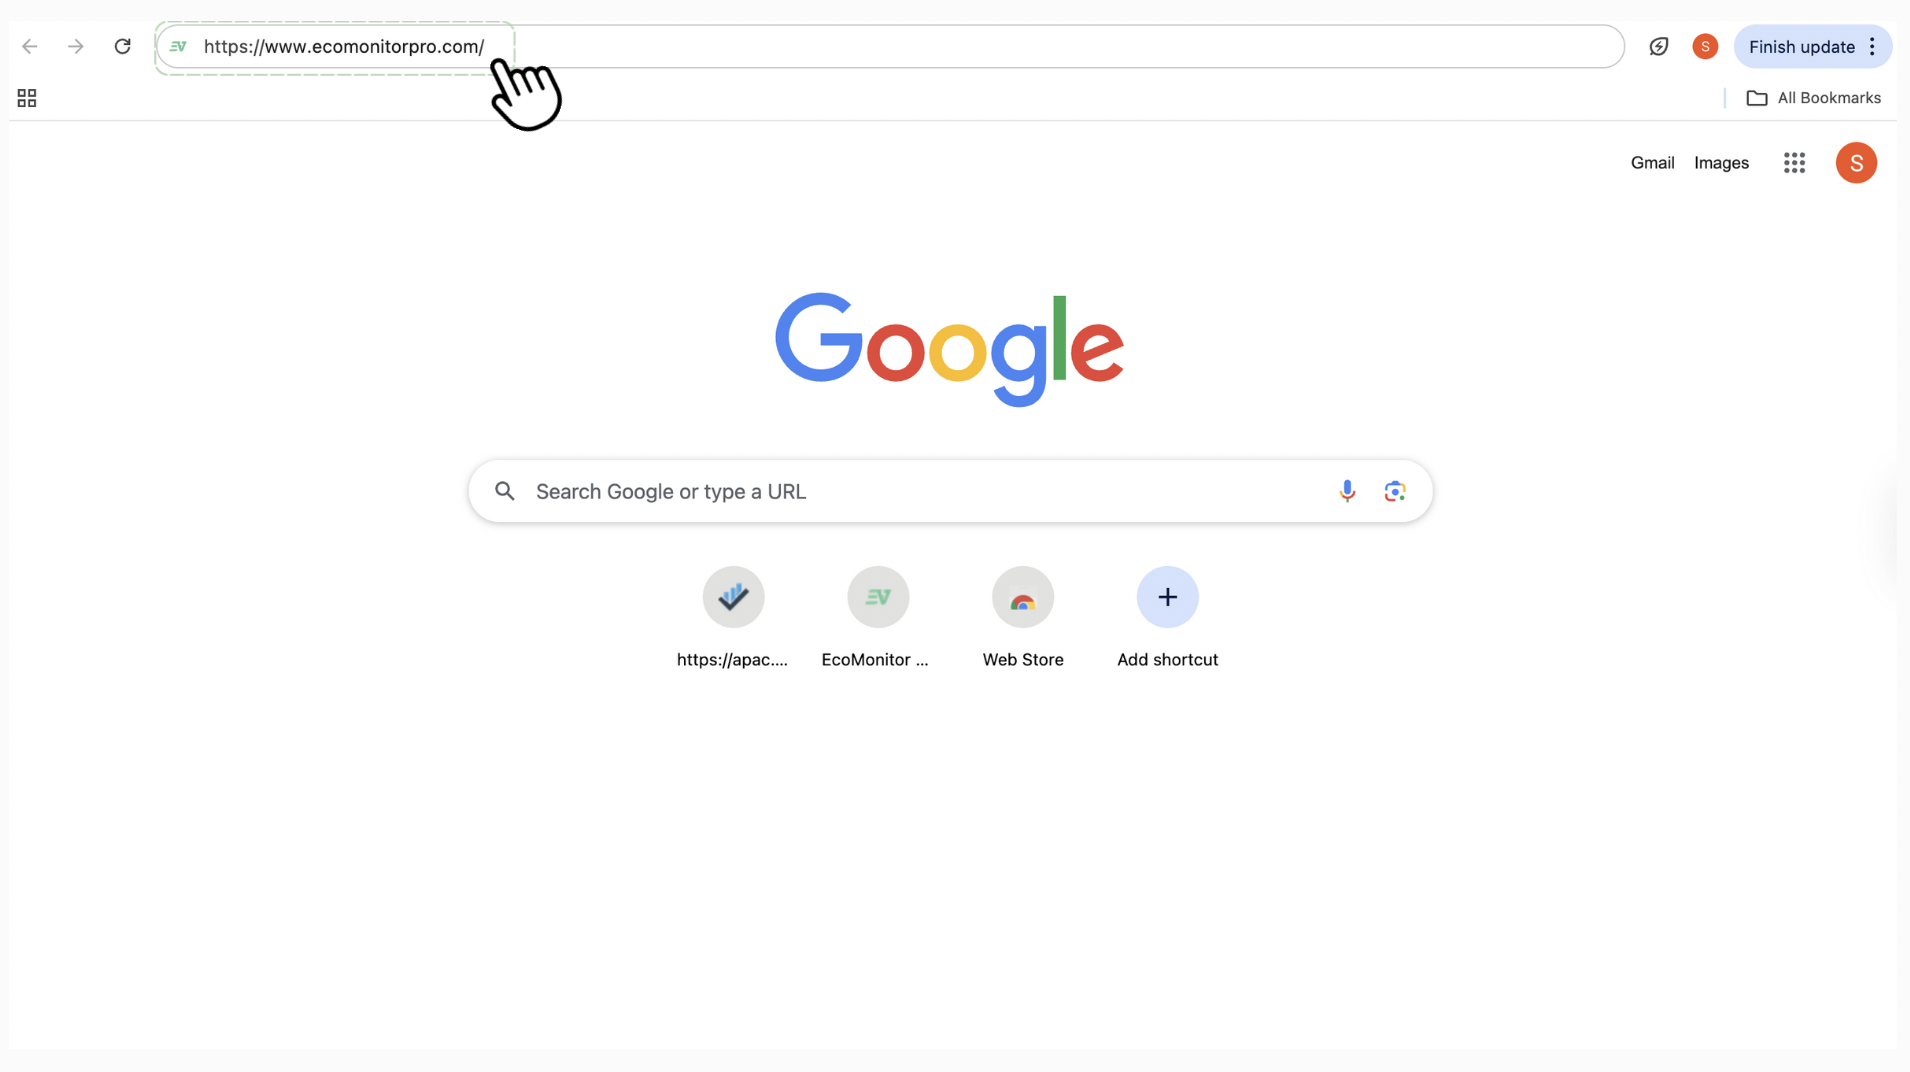
This is the page that will be displayed on your screen:
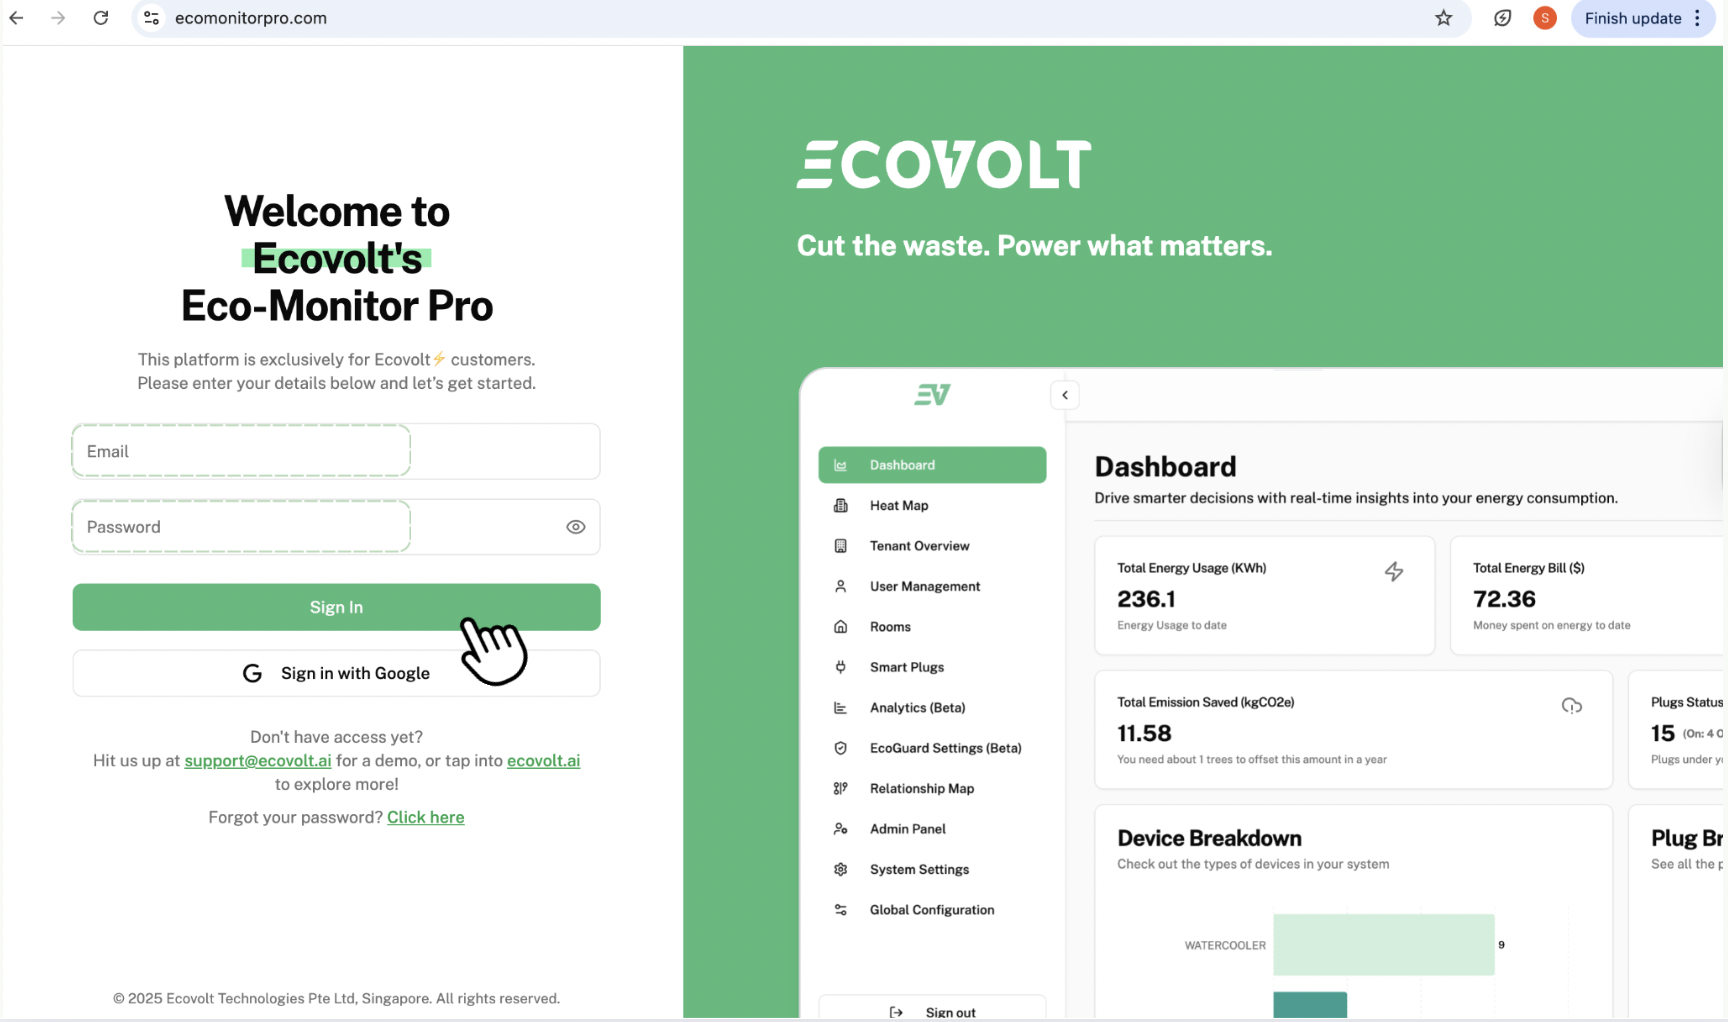
- Key in your Email and Password respectively, then click "Sign in"
This is the page that will be displayed on your screen:
To Access Plugs
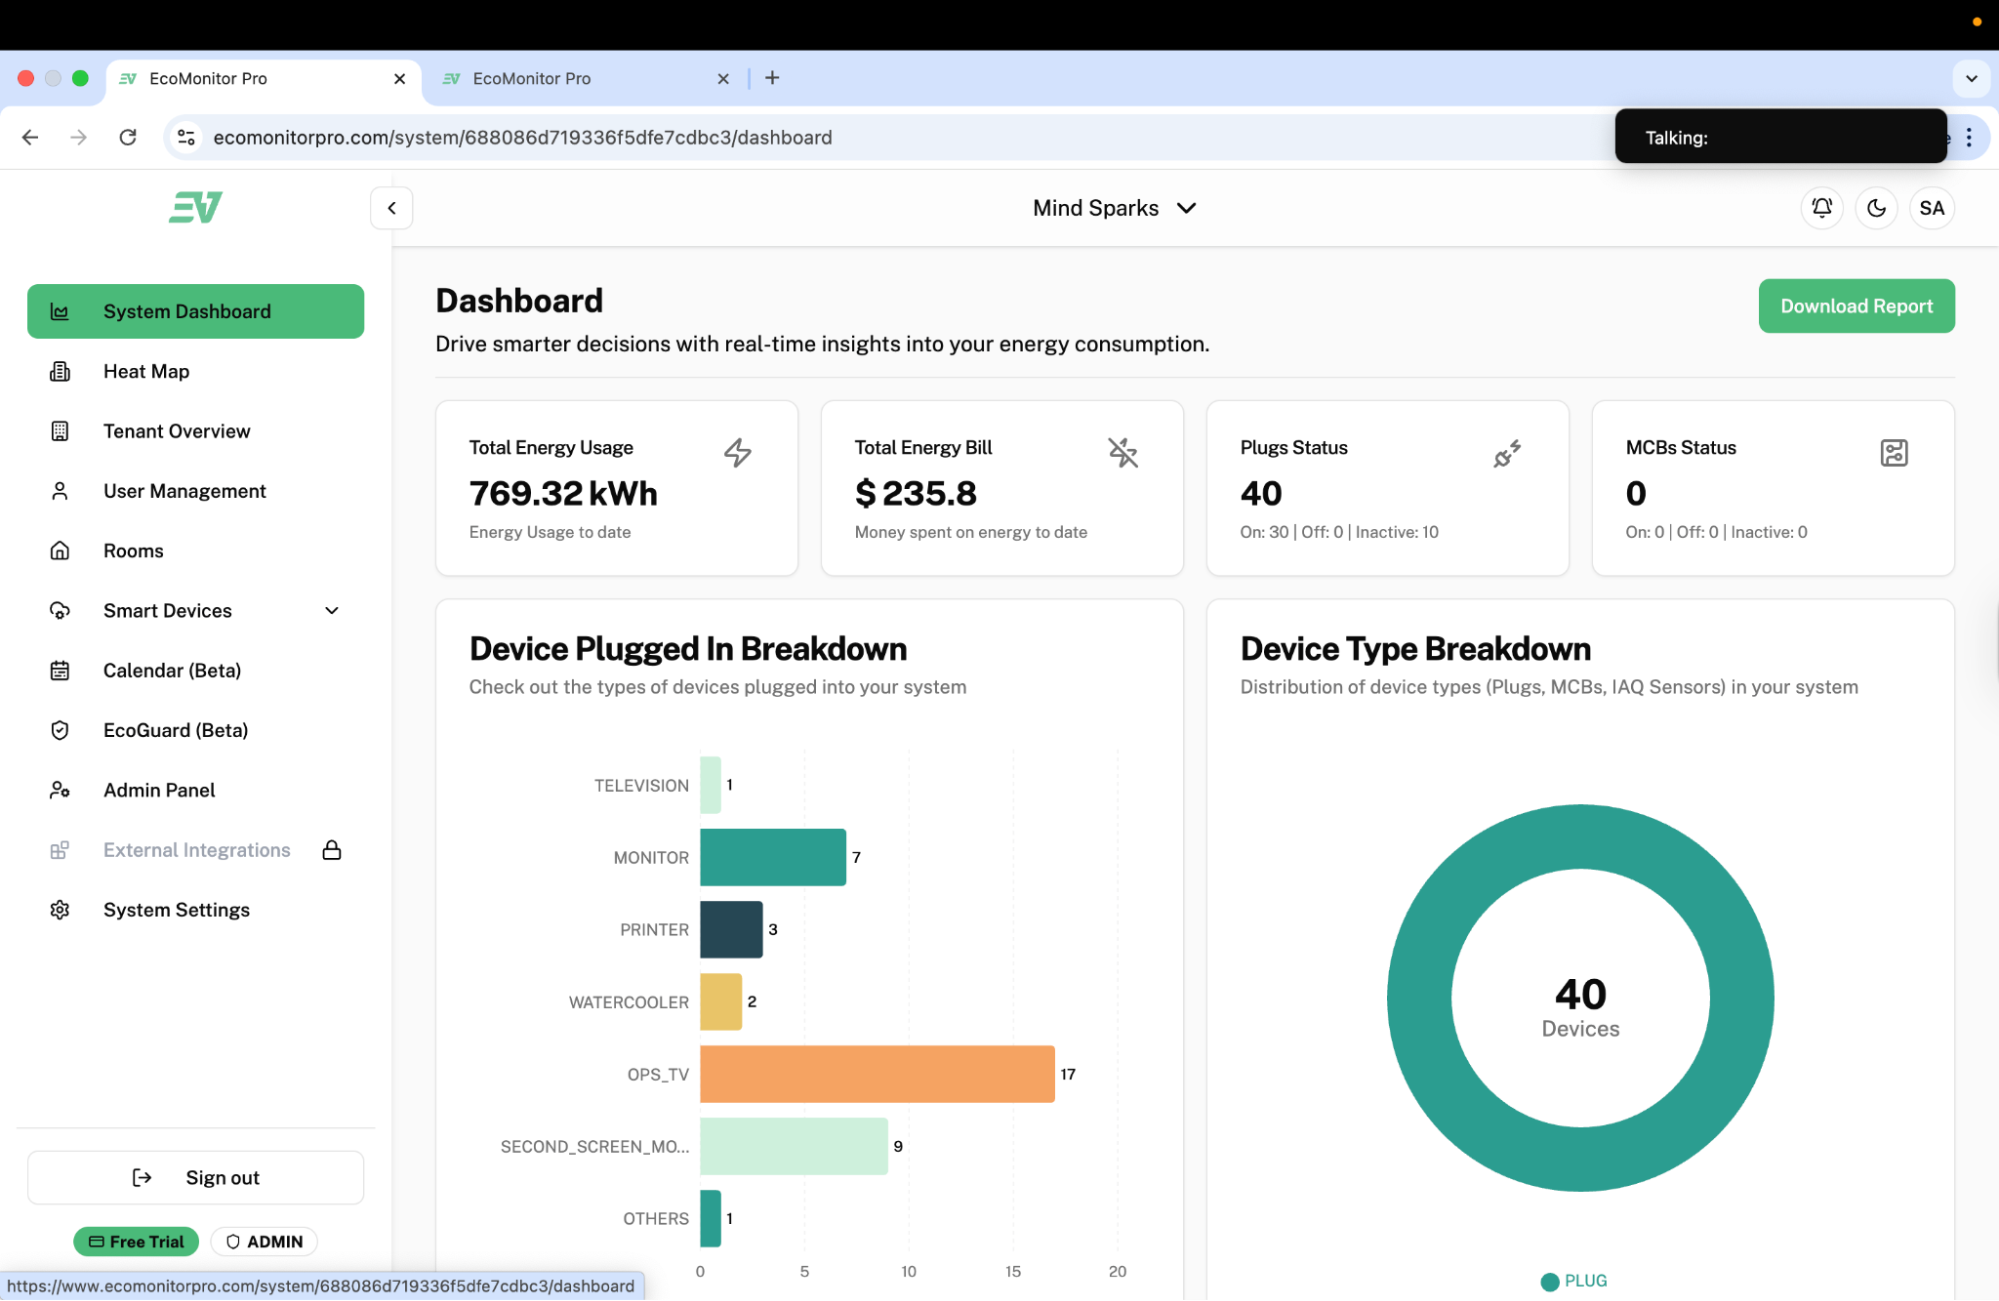
Click "Plugs" found under "Smart Devices".
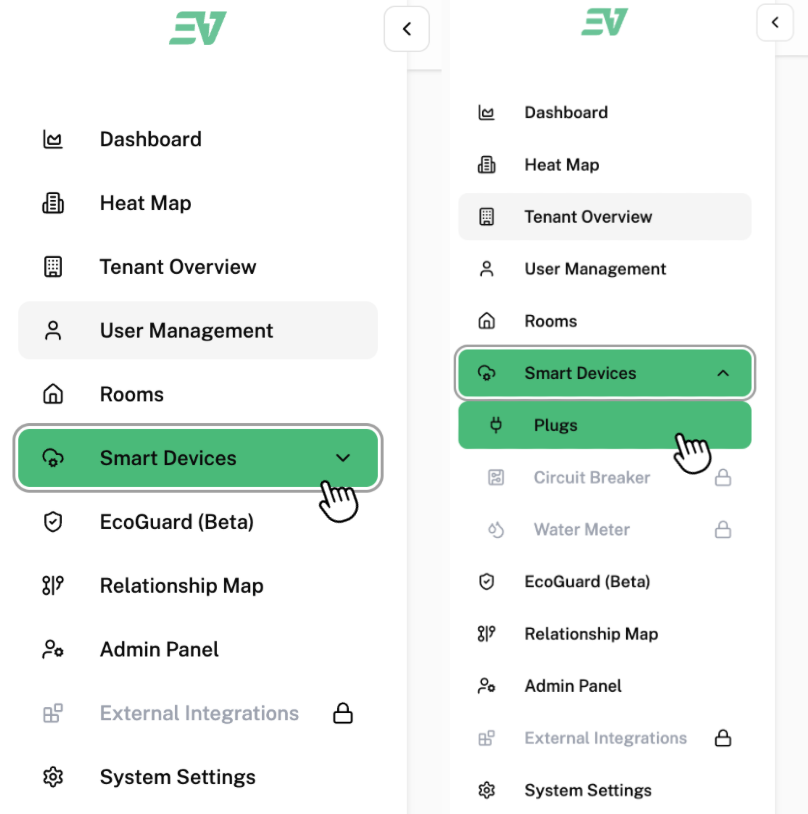
This is the page that will be displayed on your screen:
To select a specific plug, click the check box next to the plug you want to select, as shown in the checkbox labelled as 1.
To select all plugs listed, click the check box labelled as 2.
To Set a Scheduled Timer for Specific Plugs
After selecting your desired plug(s), these options will be displayed on the bottom of your screen:

To set a scheduled timer for when your plug(s) will automatically turn on and off, click on "Set Scheduled Timer".
This is the pop-up that will be displayed on your screen:
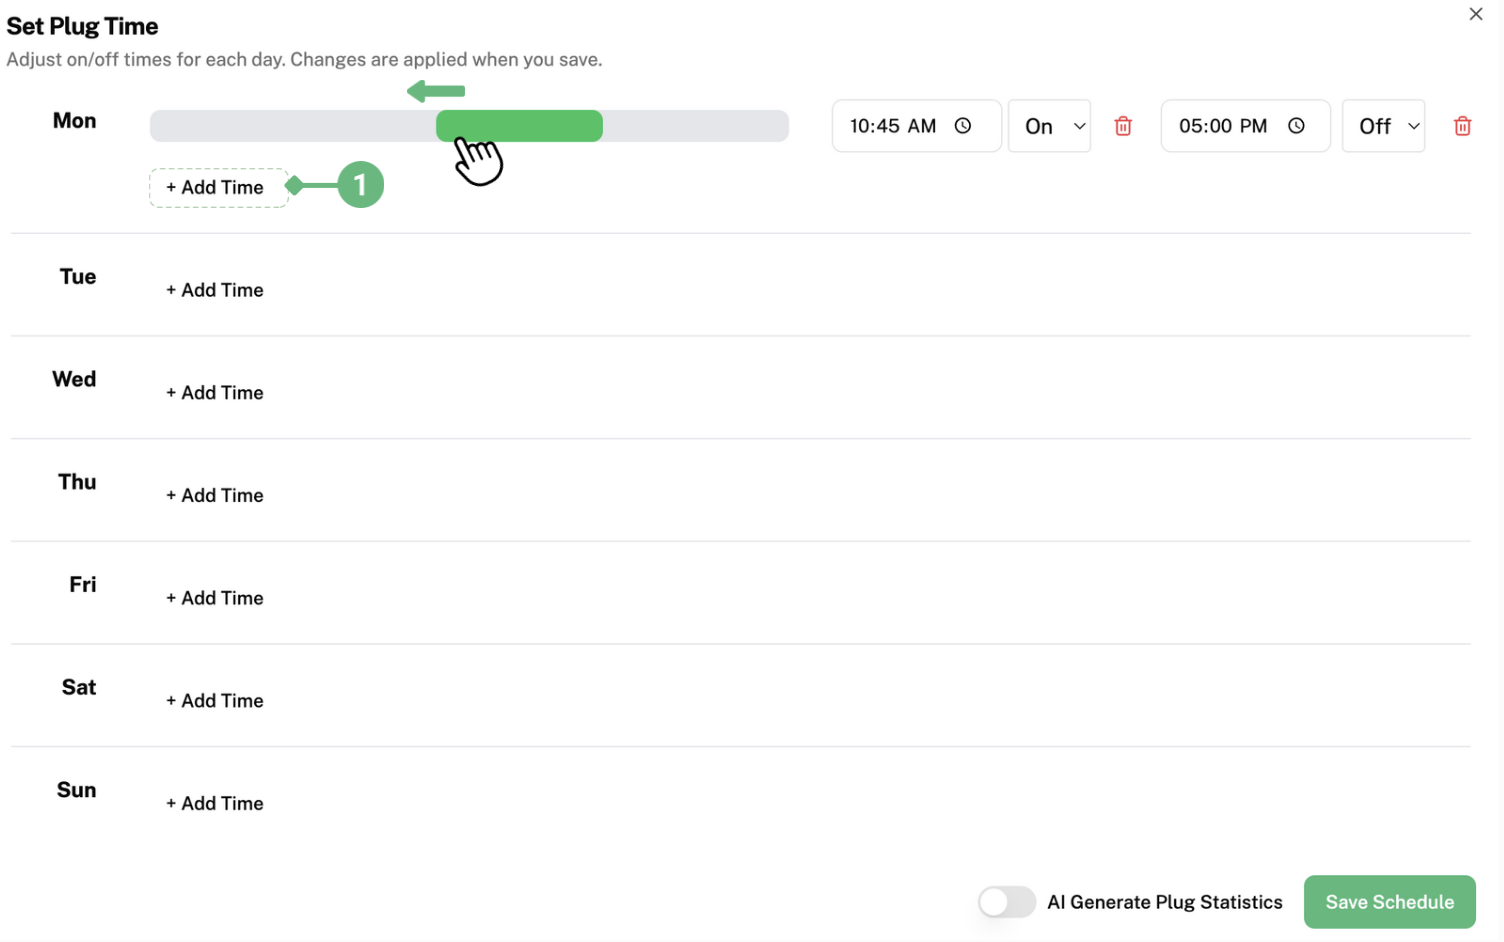
To set a timer, click on "Add Time" labelled as 1. The grey bar will appear. Here, you can click and drag the green bar left and right until you acquire your desired timing.
For example, the picture shows the green bar being dragged to the right, so that the plug will be turned on at an earlier timing. The green bar represents the duration the plug is turned on for.
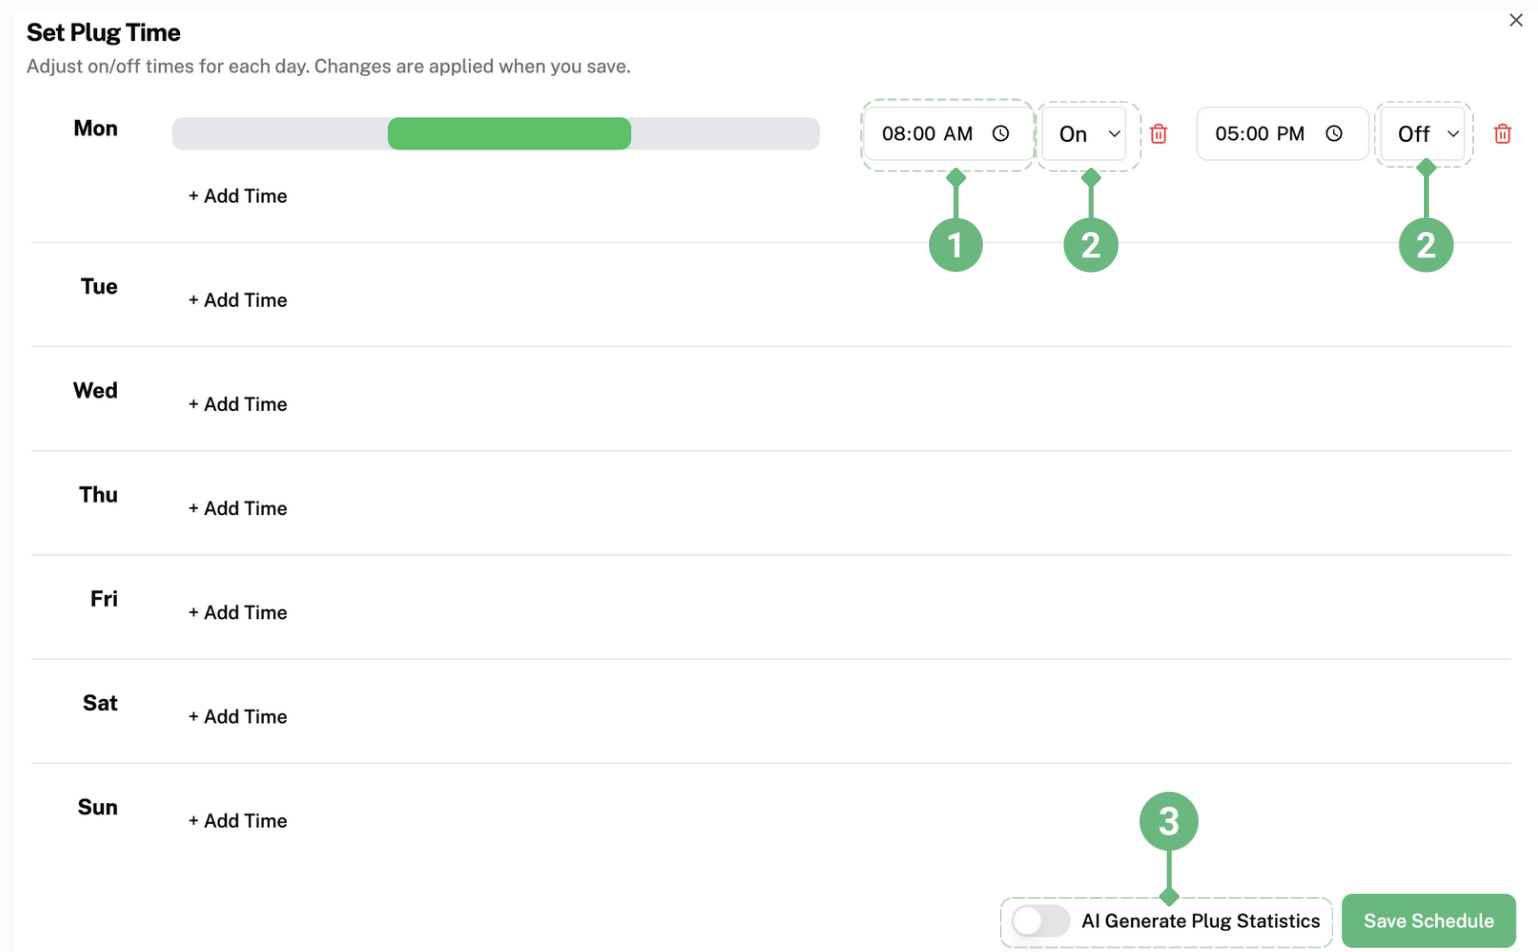
After dragging the green bar to the right, the starting time has been changed from 10:45am to 8am as shown in label 1. You can decide which time you want the plug(s) to be turned off or on by clicking on the boxes labelled 2. Typically, users set the plugs to be turned on during office hours.
For example, setting the plugs to turn on at 8am and turn off at 5pm from Monday to Friday, while not setting a time for Saturday and Sunday, so the plugs will not be turned on as the office is not in use.
After finishing setting your desired timings, click "Save Schedule" to save your schedule in the software.
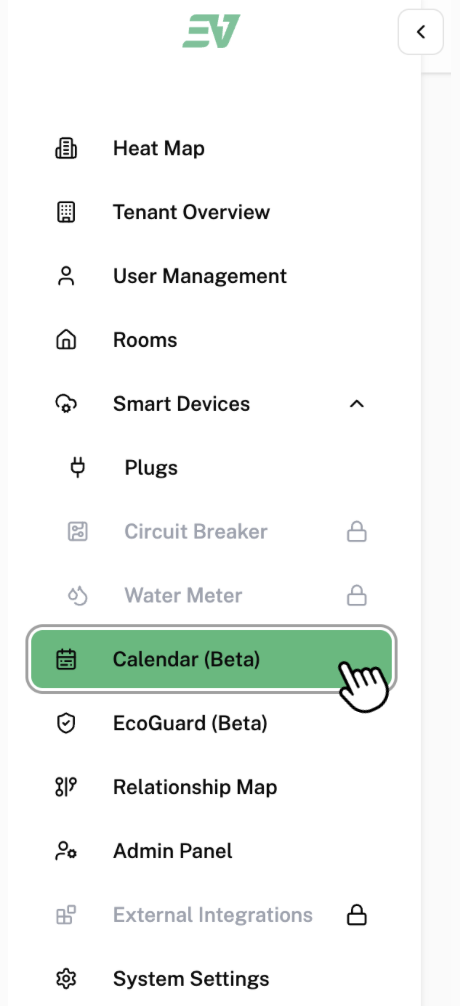
To Set a Scheduled Timer for a Specific Date
Click on "Calendar (Beta)" found in the side bar.
This is the page that will be displayed on your screen:
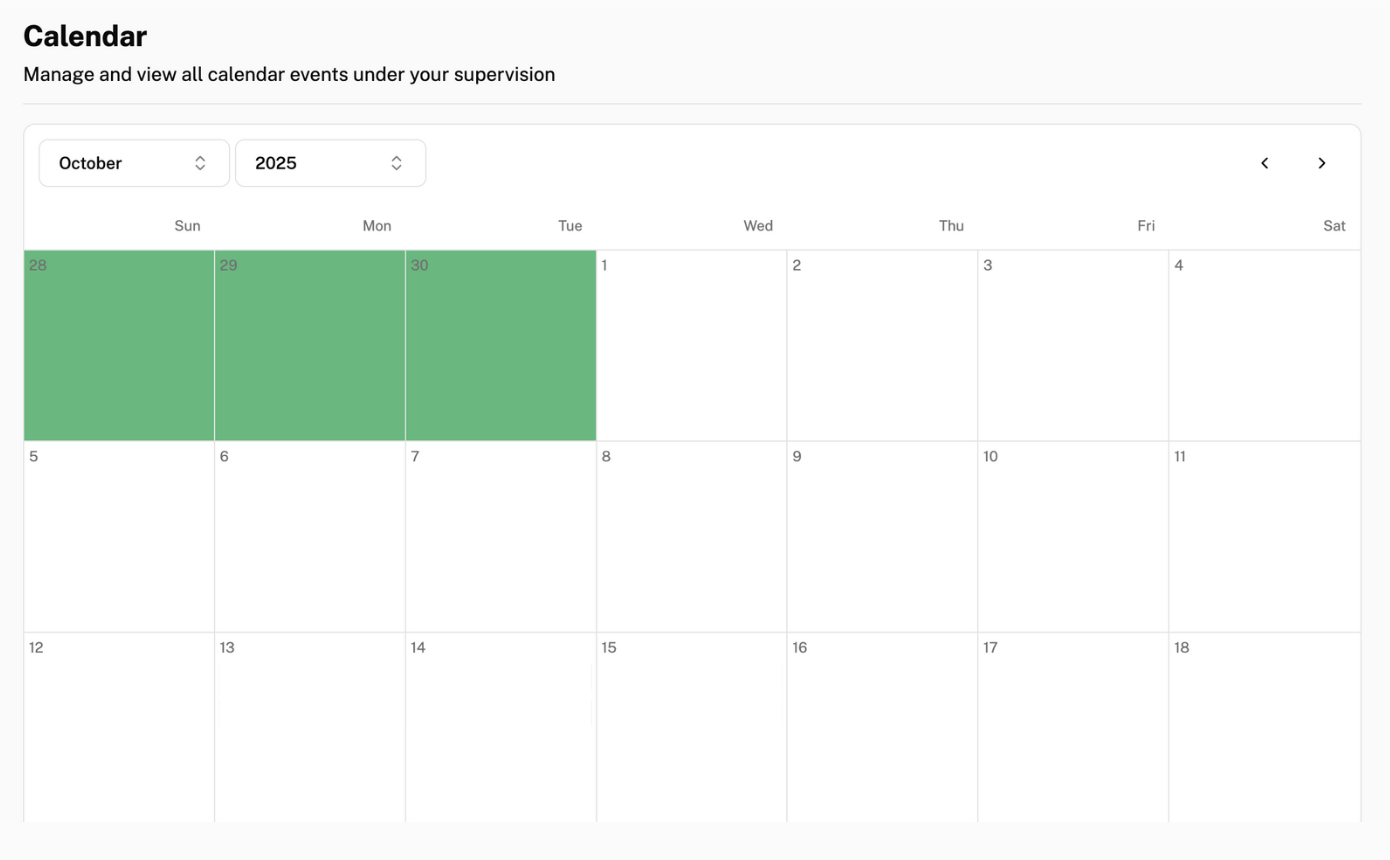
To add a schedule for a specific date, click on the box of the date you want to add a schedule to.
This is the pop-up that will be displayed on your screen:

Click on "Add Schedule for This Date".
This is the pop-up that will be displayed on your screen:
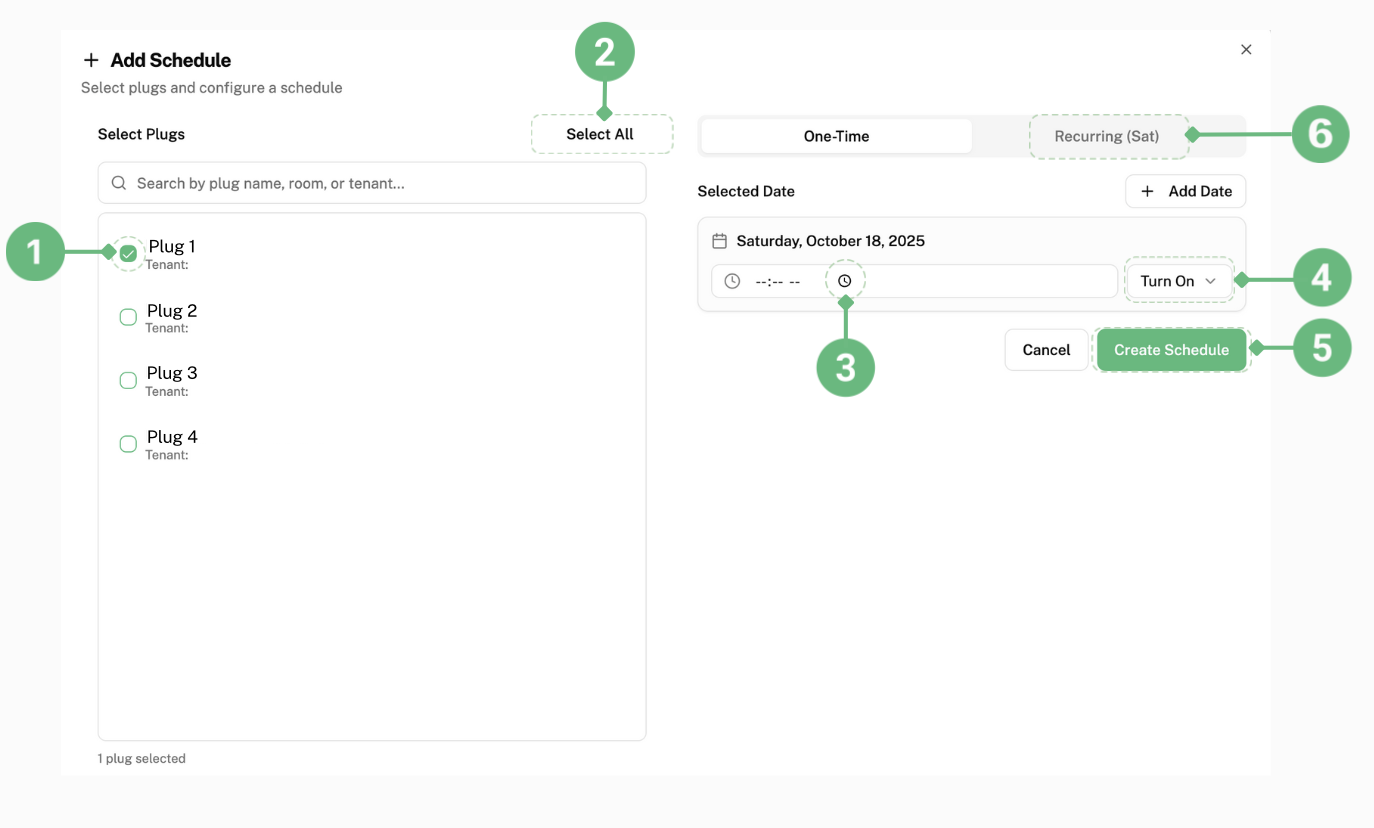
To individually select the plug you want to set a schedule on this date, click the small box next to it labelled as 1.
To set a schedule for all the plugs in your system on this date, click on "Select All" labelled as 2.
To set a time, click on the clock symbol labelled as 3.
This pop-up will be displayed:
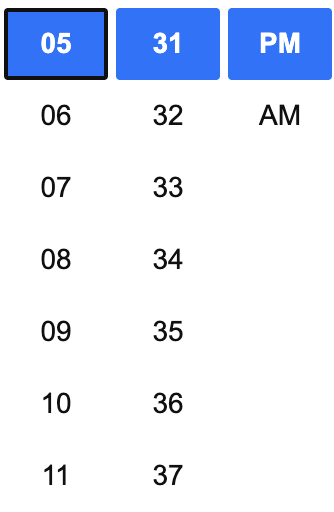
Select the time you want your plug(s) to turn on or off.
Click on "Turn On" labelled as 4 and select whether you want your plug(s) to turn off or on for the time you have set.
Click on "Create Schedule" labelled as 5 to save this schedule in your system.
Multiple schedules can be added on the same day.
To add a schedule that recurs every week, click "Recurring" labelled as 6 and repeat the same steps as mentioned above.
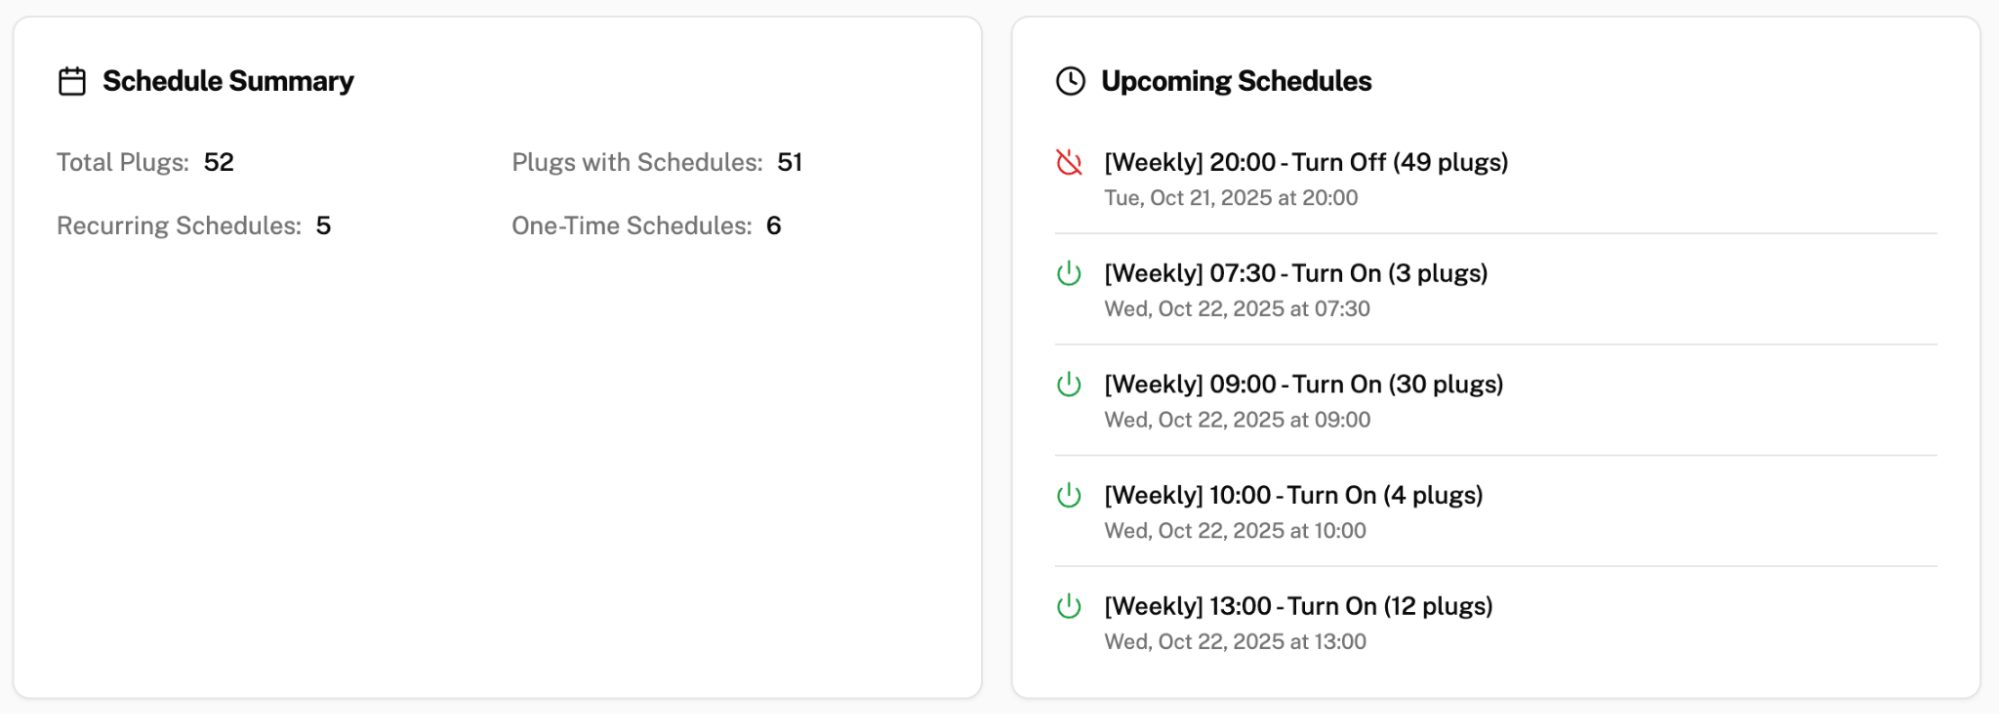
How to View a Summary of Your Schedules
To get a summary of all the schedules you set, scroll to the bottom of the page. This is an example of what you will see: